


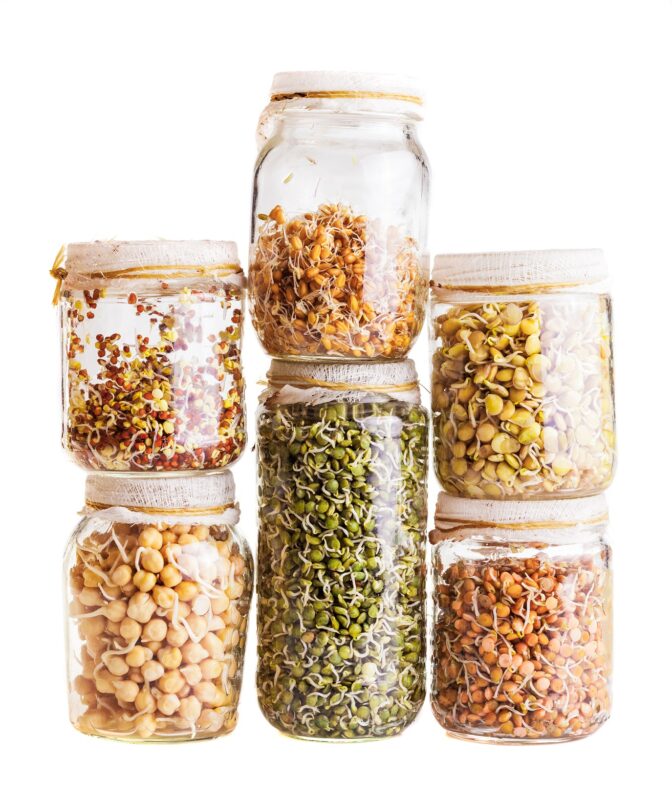
As a biochemist, I am interested in what happens to a seed as it develops into a living sprout with the potential to become a full grown plant. During the germination process, seeds go from being dormant to bursting with life. Stored minerals become bio-available and enzymes necessary for growth are activated along with the production of several B Vitamins and Vitamin C among other health benefits such as easier digestibility.
A few years ago, it became in vogue to eat alfalfa and other sprouts. I would purchase a package and then it would go bad before it was finished. Then came the Salmonella scare and I didn’t want to buy packaged sprouts. So began my quest for a workable method to grow sprouts on my own.
According to Jewish tradition, one should plan and prepare for Shabbos all week. Growing sprouts for Shabbos meals can fit this bill. Since they take several days to come to maturity, I usually start on Sunday or Monday. As each type of sprout becomes “mature,” I store it in the refrigerator. Sprouting is also a wonderful way to get children involved in food preparation. If they grow them, they might actually eat them!
And they are so easy to grow! Here’s how to grow sprouts at home.

First, decide which sprouting equipment you want to use. It’s easiest to start with Glass Mason Jars (remove the flat lid and replace with cheesecloth or used dryer sheets or get jars with special mesh caps), or try Burlap Bags Made for Sprouting, but these Stacked Sprouting Trays are the best for sprouting larger quantities.
Choose which seeds to sprout:
Any seed that you sprout must be “whole” and have the potential of producing a live plant. It cannot be roasted, cooked, or processed. Purchasing from a specialized sprouting retailer is the most reliable but you can experiment with many seeds which are available in the supermarket. Do not use seeds from a garden supplier that are intended for planting.
Which Seeds To Sprout
There are three general types of sprouts you can grow easily with a minimum of equipment and cost:
Scroll to continue
More Love

Traditional British Recipe – Bubble and Squeak
Bubble and squeak is a traditional English recipe made with the shallow-fried leftover …

A Cowboy Themed Menu
Irony of all ironies, the year before we made Aliyah we were dressed like Israelis (don’t …
- Small seeds such as alfalfa, daikon radish, clover, broccoli, cabbage.
- Beans and peas such as mung, adzuki, or soy
- Whole grains such as wheat berries, spelt berries, or quinoa
Step by step instructions for how to sprout seeds at home:
1. Rinse the seeds.
2. Soak for 1-2 hours for small seeds, or overnight for beans.
3. Pour out the water, then rinse and drain the seeds and leave in your chosen sprouting container. If using trays, they will then continue to drain but the jars should be inverted and as much water as possible drained out. The idea is to have moisture and ventilation but no pool of standing water. The jars are stored on their side, slightly tilted with the lid down, if possible.
4. Over the next few days, the sprouts should be rinsed with cold water and drained 2-3 times a day to remove the “sliminess” produced as the seeds sprout and to keep the seeds from rotting. Excess water needs to be drained thoroughly. Large seeds are particularly susceptible to rot.
Once sprouted and ready, give one last rinse, swirl, and drain. Replace the jar cover with airtight lid or place in a Tupperware and store in fridge for daily use.
When are the sprouts ready for eating?
Maturity of the sprouts depends on the type of seed you are sprouting and your personal preference. In general, alfalfa will be ready in 2-3 days, while beans will take longer. If the ambient temperature is warm, the sprouts will grow faster. Grain should only be spouted until the roots are not longer than the grain kernels themselves.
Most seeds are encased in a coat that is eventually shed and does not become part of the growing plant. Therefore it has the potential to rot. When growing alfalfa sprouts, for instance, you might think that many of the seeds did not sprout but actually what you are seeing are the seed coats.
When your sprouts are ready for harvesting, you should rinse them well again and remove as many seed coats as possible. I do this by putting the sprouts in a bowl of cold water and then swishing them around and lifting them out, leaving the majority of the coats on the bottom behind to be discarded. (Mung bean seed coats usually float to the top.) I shake off any clinging water and spread them on a paper towel to dry. Drying at this point will significantly prolong the shelf-life of you sprouts. When you remove the sprouts from the paper towel, some of the seed coats will separate at this time.
Storage
Proper storage is also a consideration and can make the difference between sprouts that spoil after a few days in the refrigerator (the bane of my early attempts at sprouting) and sprouts that are still fresh after 2 weeks or more, even without additional rinsing. When the sprouts are stored in the refrigerator, they will stop growing in any noticeable way.The idea is that you want them to be exposed to some moisture but to not be wet.
One technique is to store them in with a paper towel in a plastic bag and leave it partially open, changing the paper towel if it becomes too damp. Another is to store sprouts in the cellophane box from tomatoes or berries, which has vent holes and openings on the bottom. What I have found particularly useful lately, is to store them in a vegetable crisper. The sprouts were still edible after 3 weeks!
How to Enjoy Them
- Garnish under gefilte fish, chopped liver, or other appetizer
- Instead of croutons in the salad bowl
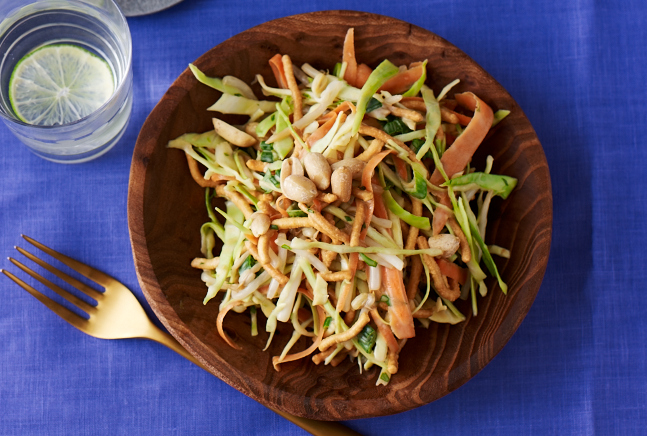
- As a crunchy addition to carrot salad or coleslaw
- Instead of lettuce in a sandwich
- Mixed with tuna or farmer cheese to bulk it up without added the calories
- Added to a stir fry
- Mixed into an omelet
- Sprinkled on bread dough before baking
- Add to soup (see Chicken Pho below)
Recipes with Sprouts

SASHIMI SALAD WITH VIDALIA SOY DRESSING








Leave a Reply