


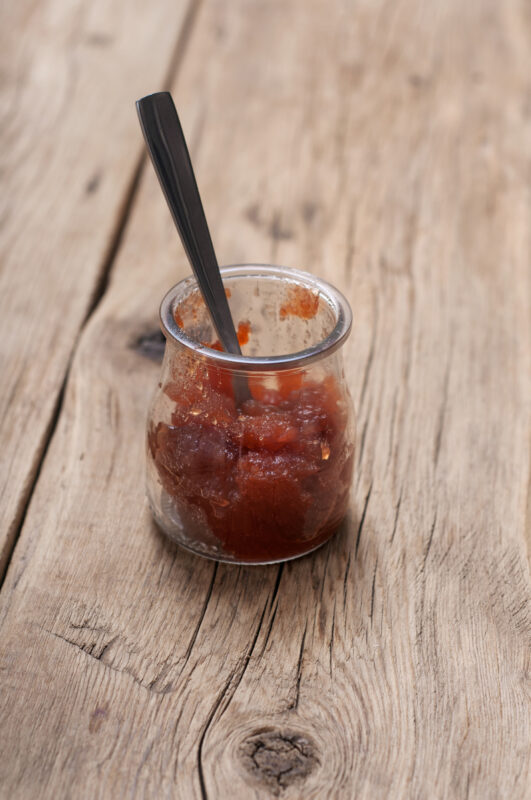
Making your own fruit preserves and jams can be an extremely rewarding experience, once you get past the fear of the process itself- which is often over complicated by old world approaches. Use this simple method to make quick and easy jam that can be adapted to most any fruit you can think of. Experiment with your favorite summer fruit combos to find what you and your family like best!
Fresh Apricot and Cherry Fruit Preserves
Servings
Ingredients
- 1 pound 500 grams fresh apricots, halved, de-pitted, and cut into rough chunks
- 1 pound 500 grams fresh sweet cherries, de-pitted and slightly smashed with a potato masher
- 4 cups 800 grams granulated white sugar
- Juice and zest of half a lemon
- Vacuum lid jars for filling You can also use old jam jars from the store
- Baking paper lined oven tray
- Oven mitts
- Large pot fitted with an upside down dessert plate or canner for processing
- Tongs for extracting jars from boiling water
Instructions
- Place a small plate in the freezer for testing if jam is ready later on.
- 2. Add prepped fruit, sugar, and lemon juice to a large pot .
- 3. Turn the heat on to medium high, and bring jam to a rolling boil for one minute. While waiting for jam to come to a boil, make sure that all sugar crystals are dissolved from the sides of the pot using a pastry brush that has been dipped in water.
- Reduce heat, and let the jam simmer gently for approximately 30 minutes (This process could take longer for fruit that naturally contains less pectin.) Skim off any foam that rises to the surface with a ladle.
- NOTE: Jam continues to set as it cools, so a jam that is ready will appear thickened, yet it will not be nearly as thick as the final product.
- While the jam is simmering, place washed and dried jars (without the lids) on a lined baking tray, and heat at 350°F (175°C) for 10 minutes. This is done to kill off any lingering bacteria that could cause jam to spoil later on.
- 6. When the jam has visibly thickened and appears gelled, turn the flame off, and place a spoonful of jam on the frozen plate. Return the plate to the freezer or fridge for a couple of minutes until cooled. Run finger through the cooled jam, or drop off of a spoon to check for the desired consistency.
- If you feel the jam is done, you are ready to fill your still warm sterilized jars with the hot jam (with oven mitts, and over your paper-lined tray!), fit with lids, and process. If it is not ready, cook for a couple more minutes and repeat the test.
- To process: Place a dessert plate upside down on the bottom of a large pot. Fill the pot ⅔rd the way full with water (you can always remove some later if you think the jars will cause it to overflow.)
- Place on a high flame and bring to a boil. Once boiling, turn down to a gentle simmer, and carefully add up to 4 jars at a time with tongs. The water should cover the jars completely.
- Let the filled jars simmer for 5-6 minutes to pasteurize, and help the vacuum lids form their seal.
- After 5-6 minutes, carefully remove the jars from the water, and place on your counter. Let sit until cool. During the cooling process the lids should make a loud popping sound as they seal. If one of the lids fails to seal, it can be removed, reclosed, and processed once again in the water bath within 24 hours.
- Label and share with family and friends!



Leave a Reply