


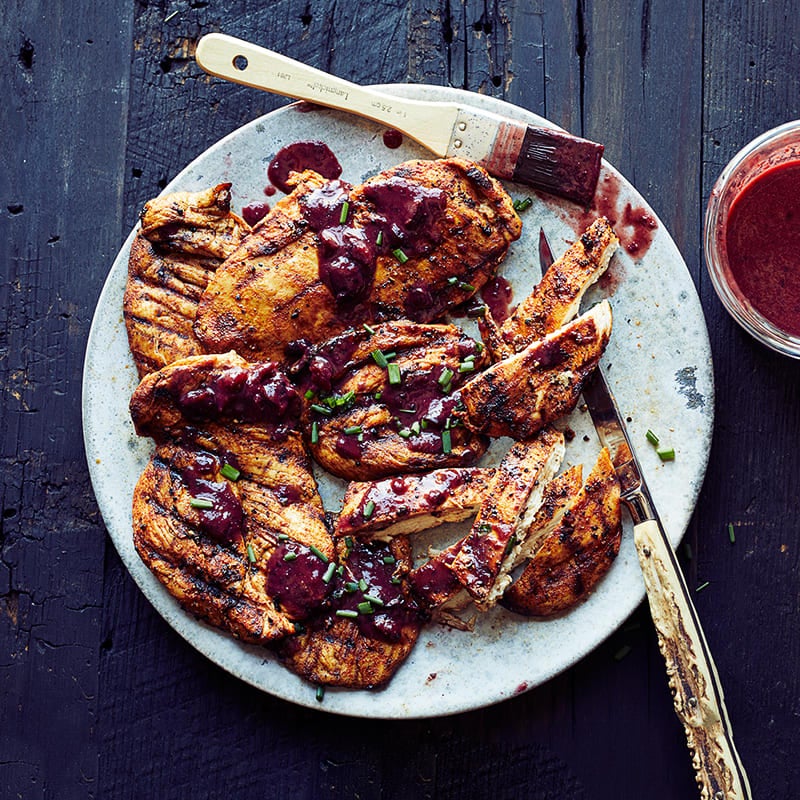
Since the invention of fire, nothing has quenched humanity’s burning desire to cook meat over an open flame. It is elemental, primordial, and when done right, results in the best-tasting food on earth.
There are many important things to celebrate on the Fourth of July, and we proudly wave our American flag while watching fireworks explode overhead. But no Independence Day is complete without a cookout! It’s time to stock up on groceries and invite your friends over. To help you get ready, we want to make sure you know exactly how to handle the grill next door.
Grilling vs. Barbecue
Grilling is what we do on Sunday afternoons with a cold beer in hand while the game is on TV and the kids are playing in the living room. It is hot, fast, and (usually) painless.
In contrast, barbecue (and wood smoking) refers to a slow cooking process over indirect heat, typically taking several hours at a relatively low temperature (between 200°F and 300°F). When you watch those outdoor cooking competitions on the Food Network—wishing the meat was kosher and the event was happening in your own backyard—you are watching barbecue. Those “fall-off-the-bone” ribs are only possible through this slow-cooked process. Barbecue aficionados shun pure charcoal in favor of woods like oak (mild, smoky flavor), hickory (medium, smoky flavor), or mesquite (strong, smoky flavor) to create award-winning roasts and ribs.
Depending on what you are cooking, there are two primary ways to grill: Direct Heat and Indirect Heat. Below, we demystify these cooking methods.
Direct Heat
The Direct Heat method of grilling refers to the process of cooking food directly over the heat source. Direct heat is best for chicken pieces, chops, hamburgers, hot dogs, kabobs, sausages, steaks, and vegetables.
You should use the direct method when you want to sear meats. Searing involves cooking at an extremely high temperature for a short period of time to caramelize the outer layer of the meat. This process creates those attractive grill lines and locks in the juices, keeping the center moist and tender.
Indirect Heat
The Indirect Heat method is perfect for slow roasting where direct exposure to a flame would dry out or burn the food. Indirect heat is ideal for large roasts, ribs, whole chickens, turkeys, and delicate fish fillets.
Scroll to continue
More Love
Ultimate Kosher Grilling Guide
Whether you’re a backyard novice or a seasoned pitmaster, mastering the grill is about two …
The National Cattlemen’s Beef Association provides the following guidelines for cooking with Indirect Heat:
- Step 1: Prepare the grill. Prepare your charcoal grill by igniting an equal number of charcoal briquettes on each side of the fire grate, leaving an open space in the center. When the coals are medium-hot and ash-covered (about 25 to 30 minutes), add three to four new briquettes to each side. Place an aluminum foil drip pan in the center between the coals. Position the cooking grid with the handles over the coals so additional briquettes can be added as needed.
- Step 2: Position the meat. Season the beef as desired and place it on the cooking grid directly over the drip pan.
- Step 3: Grill and rest. Cover with the grill lid and cook over medium heat until the thickest part of the roast reaches your desired internal temperature. Turning the meat is usually not necessary. Add 3 to 4 additional briquettes to each side every 30 minutes to maintain proper heat. Once finished, transfer the roast to a carving board and tent it loosely with aluminum foil. Let the roast rest for 10 to 15 minutes. (The internal temperature will continue to rise about 5°F to 10°F to reach perfect doneness, and resting makes the meat much easier to carve.)
10 Simple Tips to Rule the Grill
Now that you know the difference between barbecue and grilling, as well as Direct vs. Indirect heat, you are almost ready to cook! Before you strike a match, follow these ten simple tips to become the ultimate king or queen of the grill:
1. Plan Ahead
Season your food an hour or two before throwing it on the grill to lock in the flavor. Slice, dice, and trim your ingredients before guests arrive so you can spend more time with your friends and less time trapped in the kitchen.
2. Oil You Need to Know
Brush some olive oil or cooking spray onto the grill grate before cooking to prevent food from sticking. Do not add heavy oil-based sauces or marinades to the meat while it is over high heat unless you want a massive flare-up. If your recipe calls for a sugary sauce or glaze, save it for the last few minutes of cooking.
3. Food Safety First
The last thing you want on your menu is foodborne illness. After transferring raw meat to the grill, thoroughly wash any utensils or serving trays with antibacterial soap and hot water before using them for cooked food. Furthermore, neveruse a marinade that has touched raw meat on cooked food unless you have boiled it thoroughly first.
4. Charcoal Reminders
The best way to light charcoal is with a chimney starter, which you can pick up at any hardware store. Lighter fluid and quick-lighting commercial charcoals are filled with chemicals that impart an unpleasant chemical taste to your food and can be harmful to your health and the environment. If you must use lighter fluid, wait to cook until the charcoal briquettes have turned from black to an ash-gray color (about 30 minutes).
5. Got Wood?
If you use a gas grill but long for the irresistible smoky taste of true Southern barbecue, place soaked wood chips into an aluminum foil packet. Poke a few holes in the packet, place it under the grate, and keep the grill covered while cooking. You will want to leave the meat on for at least 30 minutes for the smoke flavor to truly permeate the food.
6. Tools of the Trade
Invest in proper, heavy-duty grilling tools. Long-handled tongs, a sturdy spatula, a grill fork, and a sharp carving knife are all you really need to handle the heat safely.
7. Managing Flare-Ups
Flare-ups are inevitable. A clever way to reduce the chance of a fire ruining your meal is to leave an unused, cool spot on the grill where you can quickly reposition your food if things get too hot to handle. When flames get out of hand, some barbecue experts advise keeping a water spray bottle nearby, while others argue that mixing water with grease can make matters worse. We recommend taking your chances with a light mist from a spray bottle—just make sure you know where your kitchen fire extinguisher is, too!
8. Know Your Cooking Times
Don’t guess when the meat is done. Check out standard Grill Time Charts to learn the exact cooking times and internal temperatures required for all of your favorite kosher meats, poultry, and fish.
9. Keep it Clean
Clean your grill before and after every use for better food safety and superior taste. It is easiest to clean your grill immediately after cooking while the grates are still warm, using a heavy-duty grill brush.
10. Let it Rest
Resist the urge to cut into your steaks and roasts the second they come off the flame. Allowing your meat to rest for 5 to 15 minutes (depending on the size of the cut) lets the juices redistribute throughout the meat. If you cut it too soon, all those delicious juices will run out onto the board, leaving you with dry meat.





Leave a Reply