


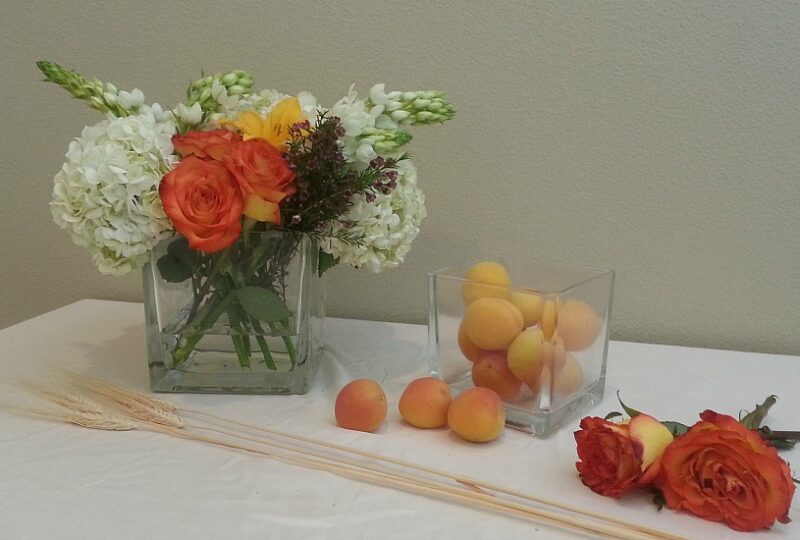
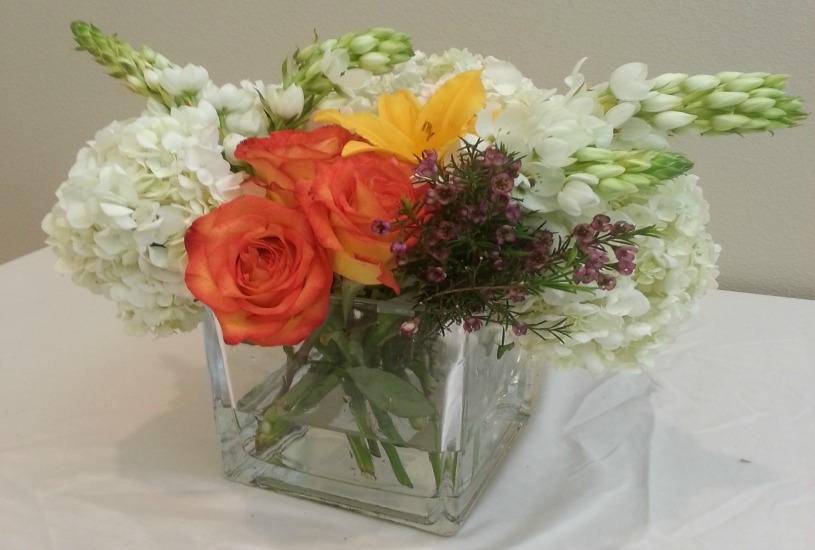
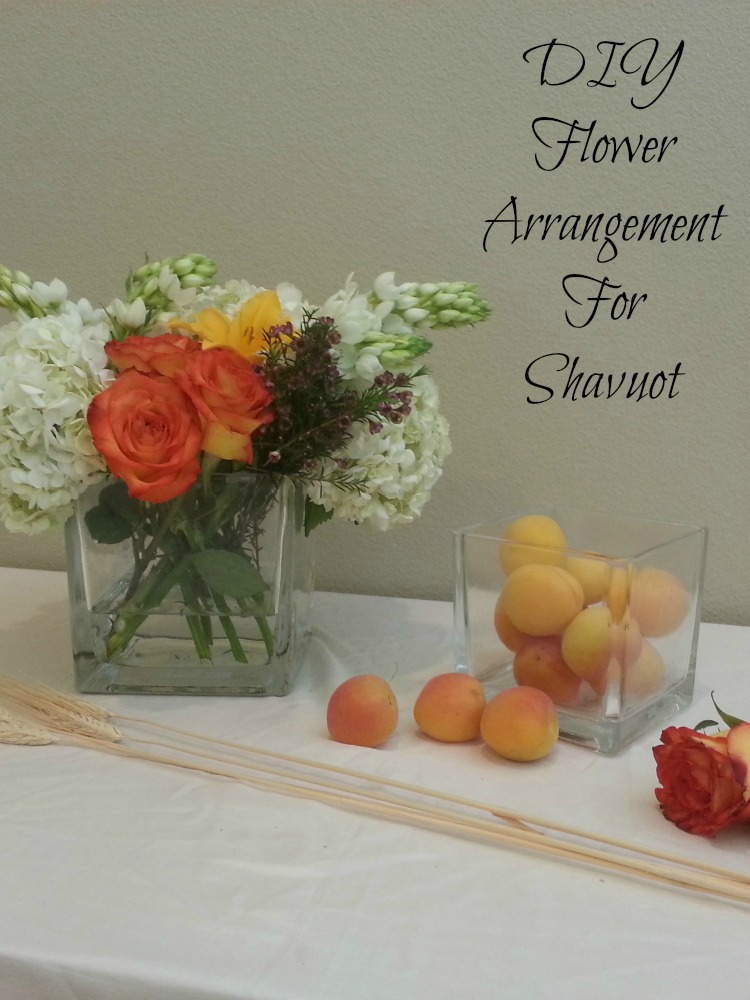
Looking for a sophisticated floral centerpiece for Shavuot? We’ve got just the thing. It looks complicated, but we’ve detailed each step for you and made it super-easy. Before we get started, one great tip to remember is when trimming the flowers, try to trim the stem at a 45 degree angle, that way the flowers can absorb more water = longer life!
Materials:
1 square 6 in glass vase
10 white hydrangeas
1 orange lily
3 peach color roses
2 purple limoniums
Scroll to continue
More Love
Healthy Creamy Pesto Pasta
Pesto in cream sauce has always been my favorite comfort food—it’s creamy, …
Blintz Souffle
I never met a souffle that I didn’t like, and they like me, too. They tend to settle …
4 white lupins
Clear scotch tape
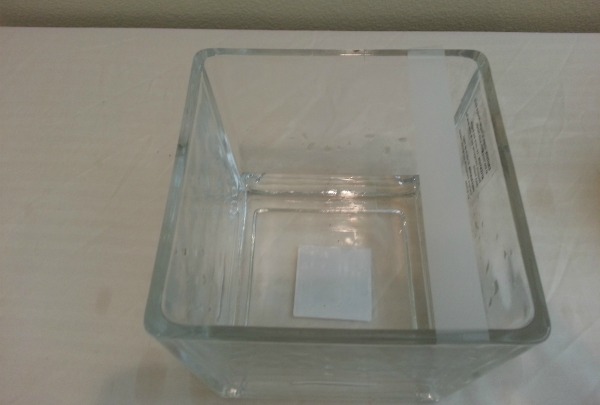
Step 1: Create the grid. The grid will help hold the flowers in place. Start on the right side and leave about 1 cm of space between the glass and the tape.
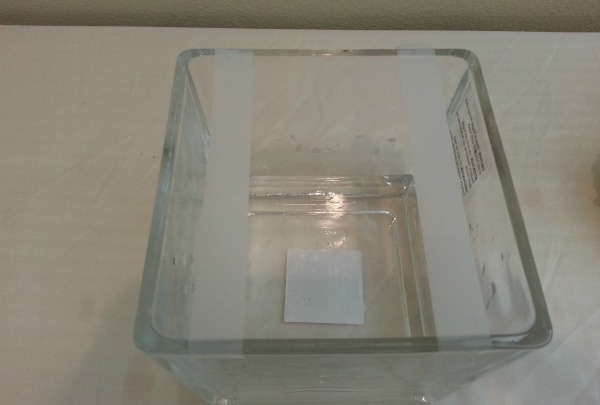
Step 2: Go to the left side and repeat. Tip: The tape should go over the vase about ½ cm.
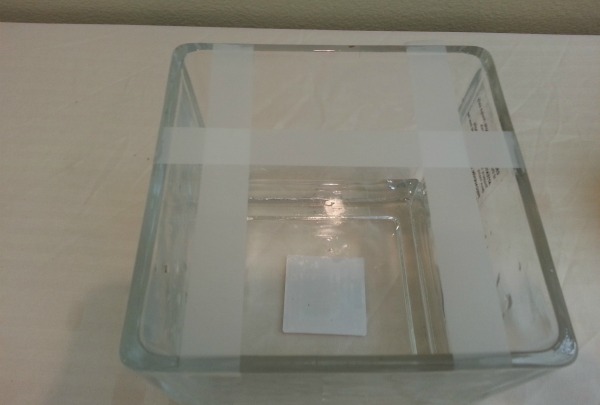
Step 3: Place a piece of tape about 2 inches from the top of the vase.
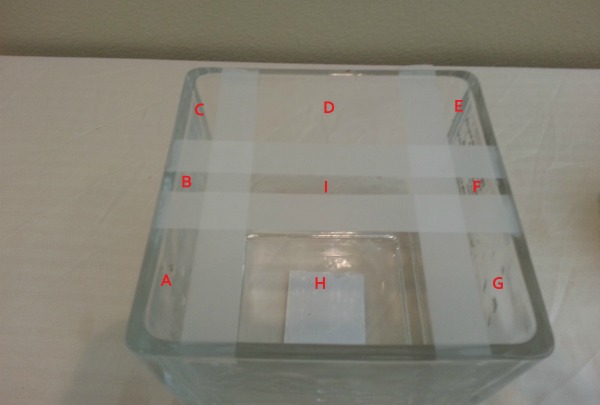
Step 4: Place a piece of tape about 2 inches from the bottom of the vase. The grid is now complete!
Tip: I will refer to the labeled grid below to reference where to place the flowers.
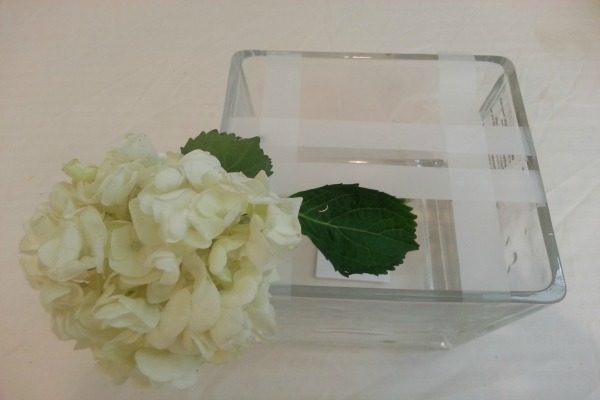
Step 5: Gather all your hydrangeas and trim them to have a 6 inch stem. Place one hydrangea on the bottom left corner of the grid (labeled A). You will fill the grid with hydrangeas in a clockwise fashion.
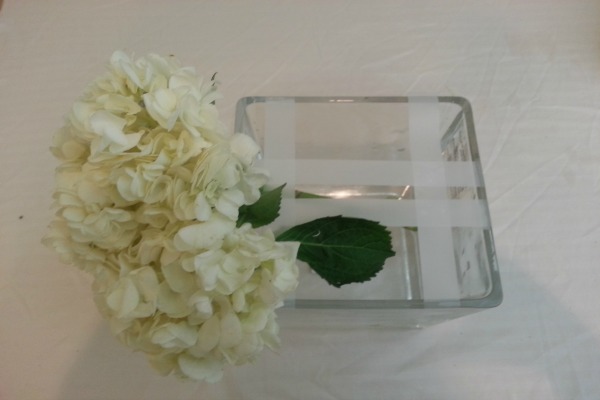
Step 6: Place a hydrangea on the left middle section of the grid (labeled B).
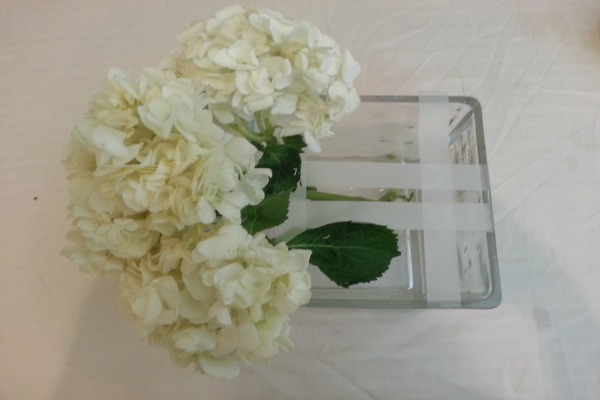
Step 7: Place a hydrangea on the left top section of the grid (labeled C).
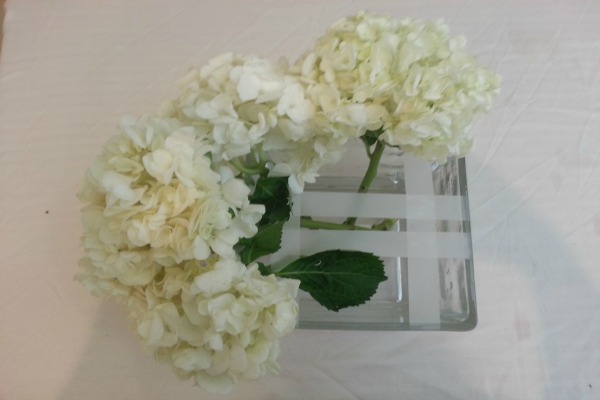
Step 8: Place a hydrangea in the top middle section of the grid (labeled D).
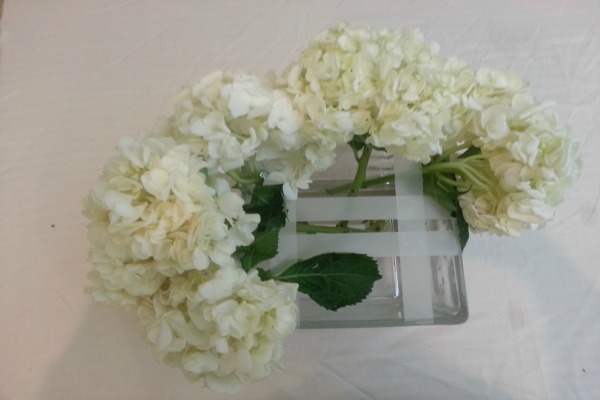
Step 9: Place a hydrangea on the top right corner of the grid (labeled E).
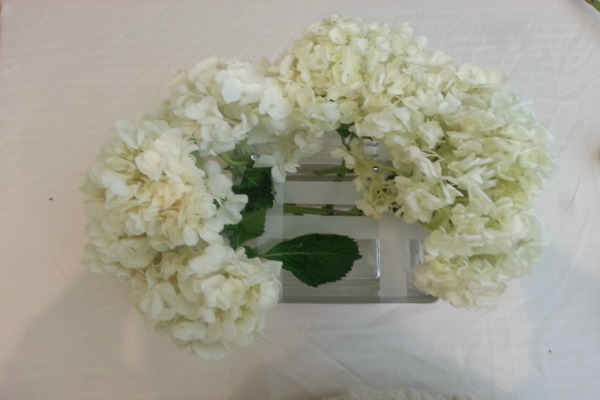
Step 10: Place a hydrangea on the middle right section of the grid (labeled F).
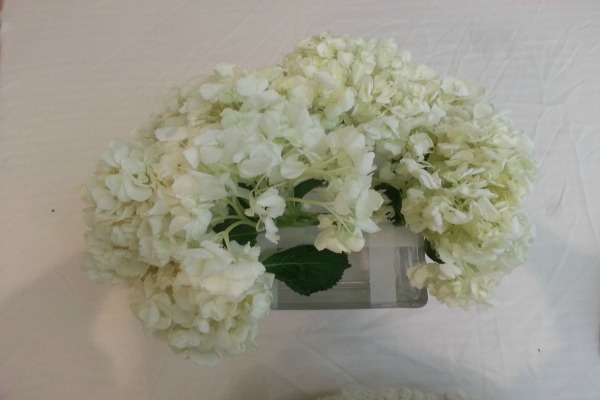
Step 11: We are done filling in the outer portion of the vase with hydrangeas. Let’s start filling the center the vase! Get a hydrangea and place it in the center grid (labeled I). Position it to the left.
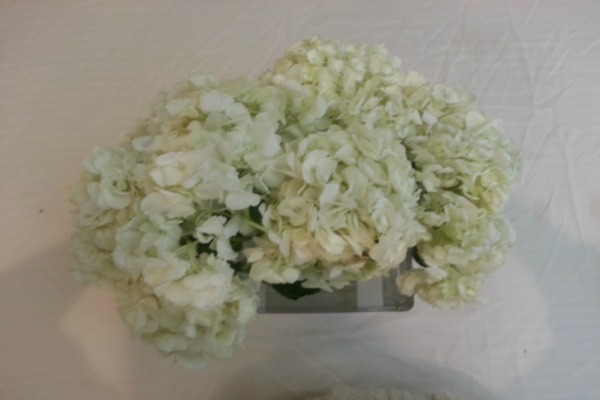
Step 12: Get a hydrangea and place it in the center grid (labled I). Position it to the center.
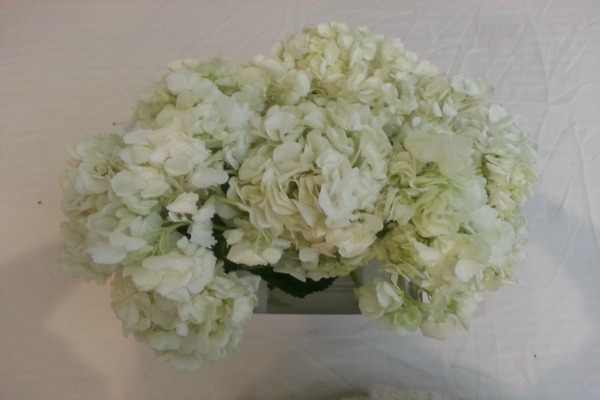
Step 13: Get one hydrangea and place it in the center grid (labeled I). Position it to the right.
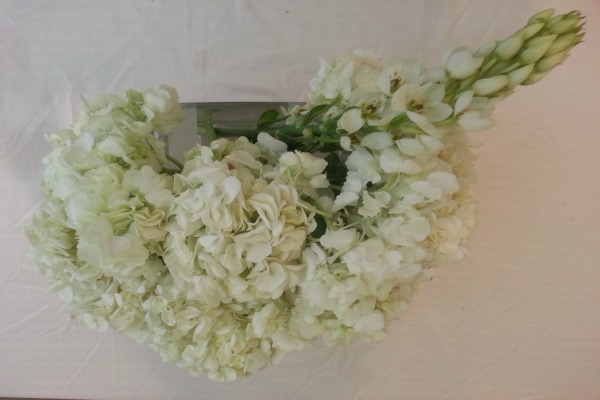
Step 14: Gather your 4 lupins and trim them to have a 4 inch stem. Get a lupin and place it in the bottom center of the grid (labeled H). Position it to the left away from the hydrangeas.
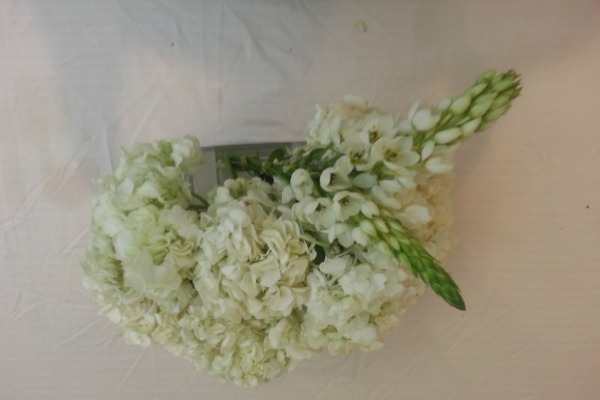
Step 15: Get a lupin and place it in the bottom center of the grid (labeled H). Position it to the left and back toward the hydrangeas.
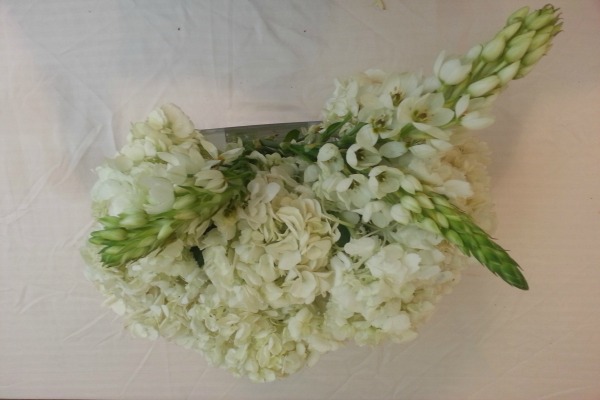
Step 16: Get a lupin and place it in the bottom center of the grid (labeled H). Position it to the right and back toward the hydrangeas.
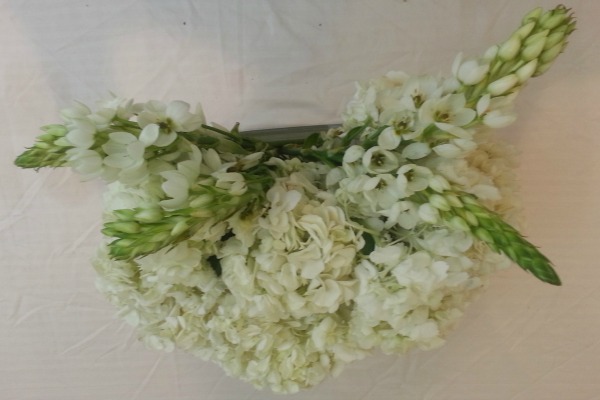
Step 17: Get a lupin and place it in the bottom center of the grid (labeled H). Position it to the right away from the hydrangeas.
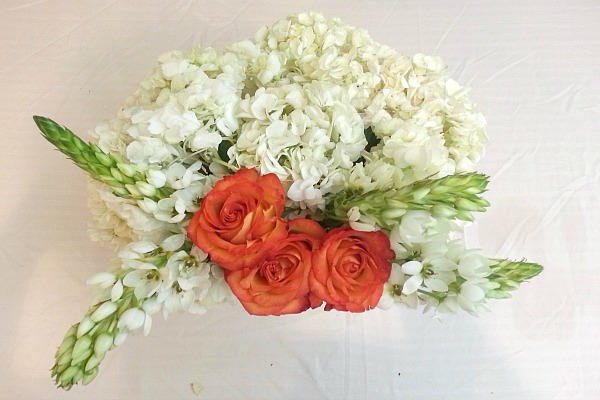
Step 18: Gather your roses and trim to have a 4.5 inch stem. Place the three roses together in front of the lupins (in the area labeled H).
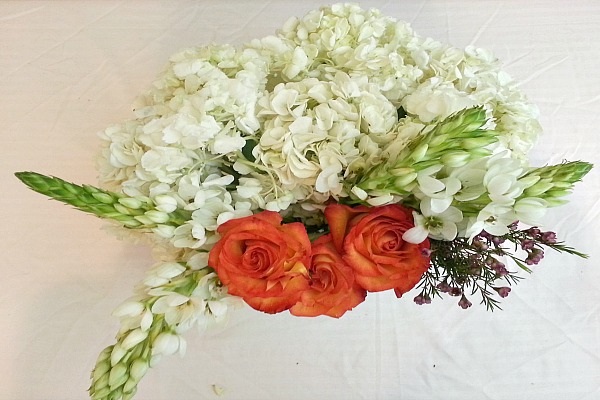
Step 19: Gather the limoniums. Break off all the stems (there should be about 5-8 stems per a bunch). Trim the stems to about 1-2 inches. Bunch up all the limoniums and of place them to the right of the roses (in the area labeled G).
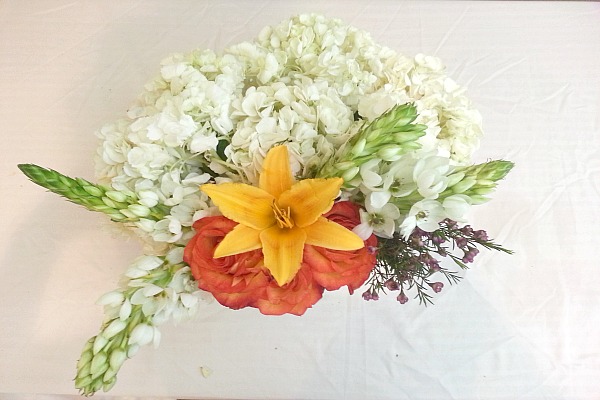
Step 20: You are almost done! Gather a lily and trim it to a 5 inch stem. Place the lily above the three roses (in the area labeled H).
Now you are all done and ready for your celebration!
Happy Shavuot!
Tip: To add some extra touches to the table, try placing some apricots in a vase, scatter a few roses on the table and put some wheat on the table.
Content provided by Flower Explosion.







Leave a Reply