


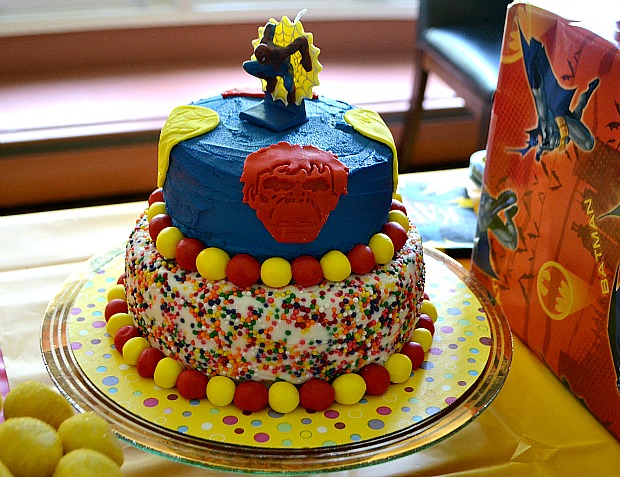
I am definitely an amateur when it comes to stacking cakes but I also love to test the limits of my creativity. So when I had the idea to stack a cake for my son’s birthday party, I knew research was necessary! What I realized while searching the Web for tips was that the advice coming from professionals seemed so complicated. Sometimes the best person to give a beginner advice is another beginner. So I’m here as an amateur cake stacker with simple and easy directions!
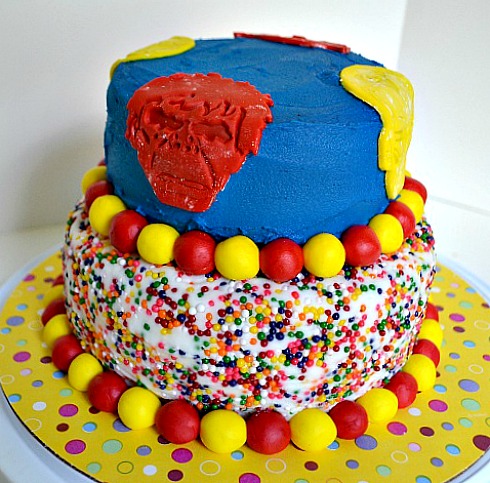
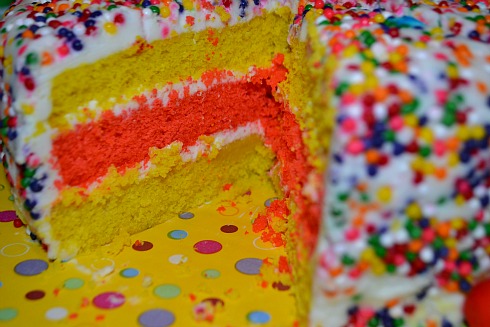
With some great advice from Melissa at Lil’ Miss Cakes and more tips from the Web,I was ready. You want to start with a good recipe. See my Rainbow Layer Cake recipe on Joy of Kosher. Since you will be stacking two cakes, just double the recipe. I chose to make my cake with red and yellow layers so after mixing the batter, I separated it in to two large bowls and whisked in red gel food coloring in one and yellow in the other (gel food coloring won’t change the texture of the batter).
A few tips: Bake the bottom cake in three 9-inch round pans and the top cake in three 6-inch round pans. Line each pan with parchment paper then spray with cooking spray to ensure the cakes come out of their pans easily. Once the cakes have cooled completely, use a serrated knife to slice off the rounded dome on top of the cakes to even them out. You don’t want uneven layers or the cake will be lopsided. Save that extra cake for cake pops!

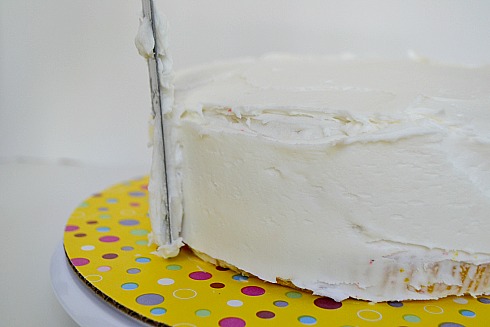
When the cakes are completely cooled, you are ready to stack the layers. On a 9-inch round cake board, place the first layer of cake bottom side down. Use a cake revolving plate so you can turn the cake as you frost. Dollop a large amount of buttercream on top and spread with an offset spatula to the edges of the cake. Top with the second layer of cake, repeat the process then top with the third layer, this time bottom side up for an even top to the cake. Using another large dollop of buttercream, “crumb coat” the cake, which means you are coating the cake with a thin layer of buttercream to cover any imperfections and set any loose crumbs. This process does not need to be pretty! Refrigerate for at least 30 minutes.
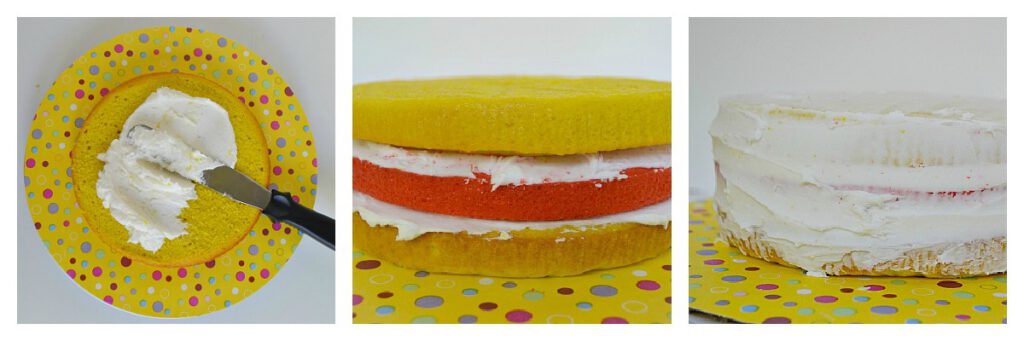
Follow the same process with the 6-inch tier (on a 6-inch cake board) and refrigerate for at least 30 minutes.
Scroll to continue
More Love

Hebrew English Meat Guide For Israel
Ever since we shared this Israel Substitution Guide, the one question we get asked all the …

Jamie Geller’s Shabbos Plan
Our entire week revolves around the holy Shabbos. It is the glue that holds the Jewish …
The bottom layer should be ready to decorate at this point! Place a large dollop of buttercream on top of the cake and spread the frosting cleanly around the top and sides. Keep a cup of hot water nearby to dip in the offset spatula, wipe with a towel then smooth on the buttercream with the hot utensil.
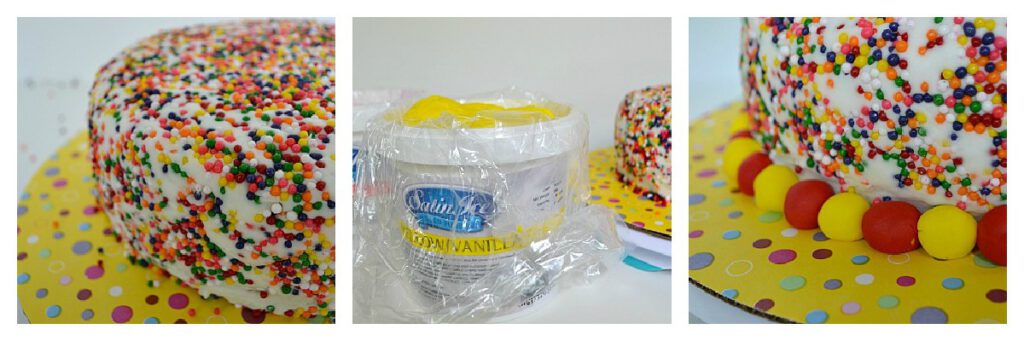
To cover your cake in sprinkles like mine, place the sprinkles in the palm of your hand and press them against the buttercream. Open up the rolled fondant, scoop out ½ teaspoons and roll in to balls. Place the balls all around the bottom of the cake in alternating colors. Bonus: covers any imperfections!
To decorate the top cake, I used colored fondant to make superhero cutouts. Use any cookie cutter you want to make fun shapes. Sprinkle powdered sugar on the counter and the rolling pin so the fondant doesn’t stick. Roll out the fondant, cut out the shapes and set them aside.
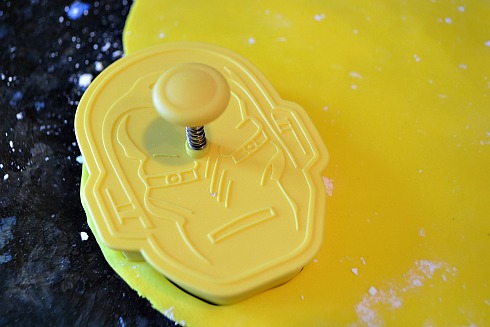
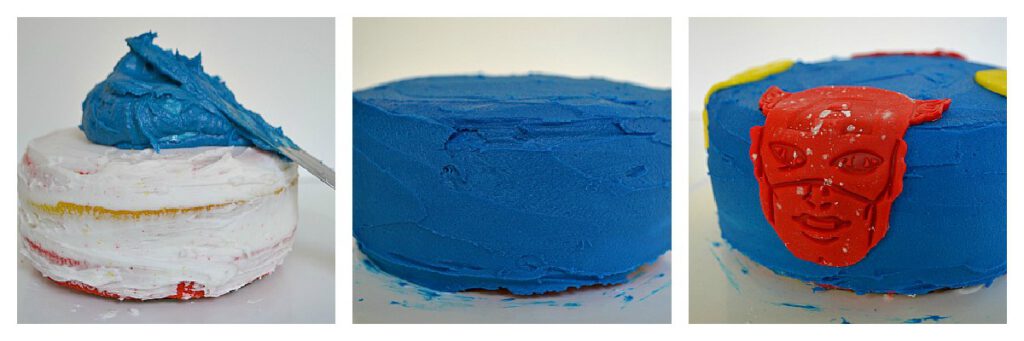
Remove the top layer from the fridge and using more buttercream, cover it completely. Place your fondant shapes on the cake and set it aside.
Next, stabilize your cake to hold the top layer. You can either buy plastic dowels or use wide straws. Place them in towards the center of the bottom cake and cut off the excess. Gently place the top layer over the dowels, making sure it’s centered on the cake.
Create more fondant balls for the edges of the top layer and you are done! Refrigerate uncovered for up to 3 days. Please comment below if you have any questions or tips.
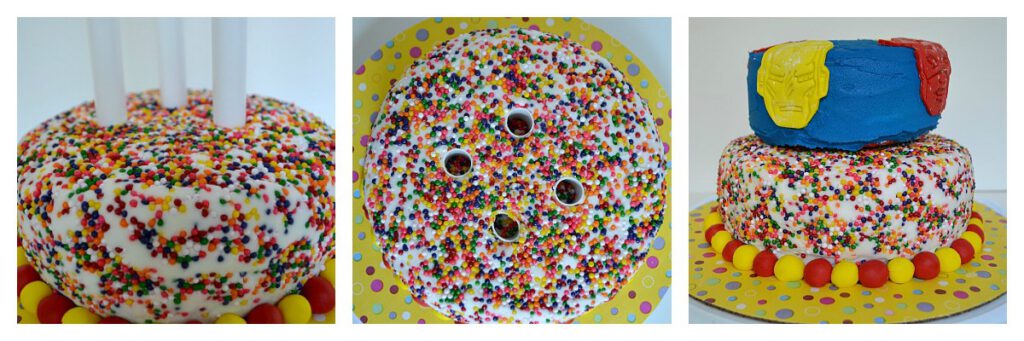
Check out the layers!








Hi,
For an ‘amateur’ you’ve done a great job. A really useful tool for stacking cakes is on http://www.bakingit.com. Have a look at their “cake tier stacker” calculator and it will help you with dowel placement. All the calculators on this site are brilliant, I use them all the time now. Great help for amateurs and pros.
I’ve learned a lot in your tutorial and I am planning to do this for my baby’s baby shower party!
This is such a festive looking cake. Colorful, bet my family would love it.
I am really not much of a baker, thank you for this walkthru!
OH, i thought maybe you were using them because it looked nicer to have a 3-inch difference, rather than a 2-inch difference between the tiers.
If you have A LOT of people at your party, you can do a 10 inch cake and an 8 inch cake. Otherwise, I think 8 or 9 inch for the bottom and 6 inch for the top are perfect for a small-ish party.
I love this cake! do the sizes of the cakes matter?
Thanks for the shout out! You did a great job, I’m so glad I was able to help. You explained your process really well. While reading through all the steps I realized how many tips and tricks I have picked up along the way. You explained a lot of small details that can really help a beginner!
LOL, I feel the same way.
This is such an awesome post! I was overwhelmed at the idea of doing a stacked cake for an upcoming, super important birthday, but after reading your post, you’ve given me the confidence to at least attempt it! Your cake is beautiful, you are definitely not an “amateur”! Great work & a wonderful post too!
I totally needed this last march for my sons bday! He ended up with just a small one layered cake… Great post!
Melinda, your cake is so awesome, it almost makes me want to bake my own (almost!)
The middle cake should be stacked just like the first, bottom side down. But it doesn’t really matter which way since you should even out the cake before hand anyways.
Melinda you are TOO FAB FOR WORDS enough with this amateur stuff – you are a natural – meanwhile I had all the confidence in the world the first time I stacked a cake, who needed research, not me! my hubby took a picture of my disaster that I WILL NOT SHARE! Quick Q… assuming the middle layer doesn’t matter which way you place it since you didn’t specify, right?